
Many at times, people have asked questions regarding how to transfer their pictures to a flash drive. There are several ways to transfer photos from one computer to another. This article will look at the benefits of using a flash drive to transfer photos and give step-by-step instruction on how to do so.
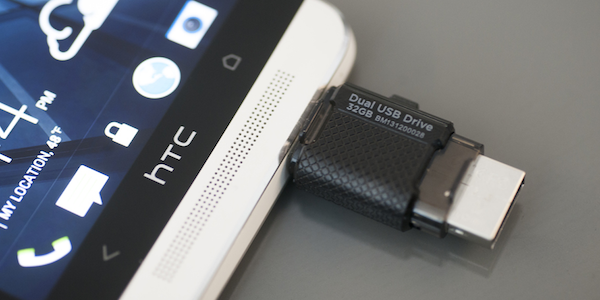
A USB flash drive also known as USB drive, pen drive, thumb drive, key drive or jump drive is an way to transfer photos from one computer to another. Flash drives are relatively inexpensive, compact, convenient, easy to use, compatible with both PC and Mac, and don’t require any software installations. In addition to these advantages, flash drives are very durable and aren’t prone to scratches like CDs and DVDs.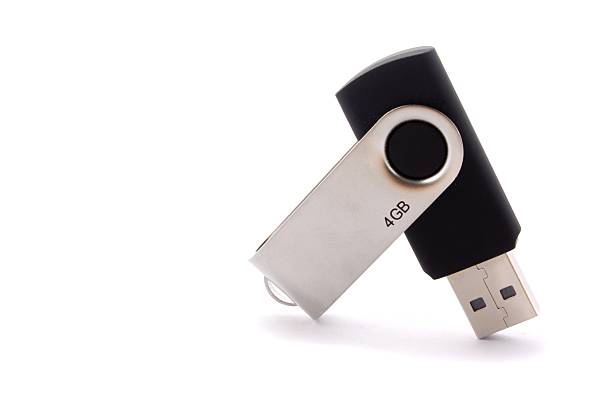
Using a flash drive to transfer photos is very quick and super easy:
Step 1: Insert your flash drive into your computer’s USB port.
Your computer most likely has rectangular holes, called USB ports, on the sides of its casing (for laptops) or behind the monitor, on the side of the keyboard, or on the CPU for a desktop. You’ll insert your flash drive into a USB port.
USB ports have a piece of plastic in the top of their slots; you’ll also notice that the USB end of your flash drive has a plastic segment. You’ll need to insert the drive into your computer’s USB port with the plastic segment side of the flash drive on the bottom.
If your flash drive won’t fit into your computer’s USB port, turn it over.
Step 2: You may be presented with a window open that says “Auto Play”
This window shows that your computer has successfully read the flash drive and it is ready for use (for transfer of data).
If this is the case, simply click on “Open folder to view files”. If you don’t have this window automatically open, open “My Computer”, locate and double-click on the appropriate device to open.
Click the flash drive’s name. It will be toward the bottom of the left-side panel of the window, below the “Devices” heading. Doing so will open your flash drive’s window, into which you may drag your pictures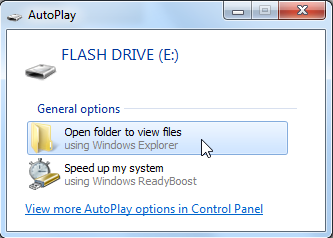
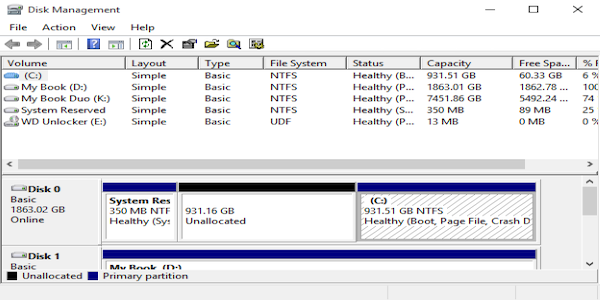
Most flash drives will be labeled as a Removable Disk (if not named before) but some will be labeled as a hard drive. If you have troubles locating your device, remove the flash drive from your computer, open “My Computer” and take note of the drives and devices already there, then reinsert your flash drive into the USB port and watch for a new device to appear. Take note of the name Windows uses to label the flash drive, Removable Disk (F:), for example. Double-click to open.
Step 3: Open the location of the photos and or folders you wish to transfer to the other computer.
Step 4: Select the photos and/or folders. To select multiple images or folders, hold down the Ctrl key while making your selections.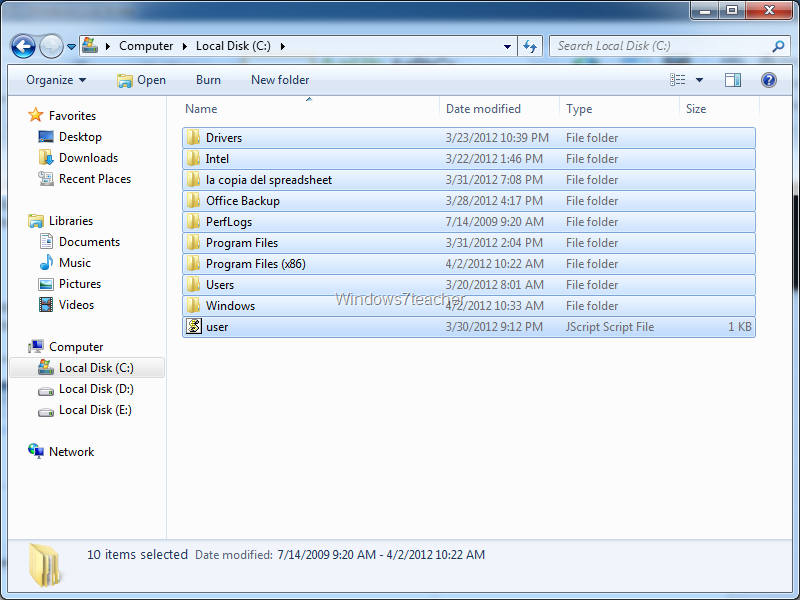
Photos aren’t moved from your computer to your flash drive by default; they’re copied instead. If you want to move the photos off of your computer, you’ll need to delete them from your computer after moving them to the flash drive window.
Step 5: Right-click on your selection, choose “Send To” and then the appropriate destination (in my case, Removable Disk (F:). Alternatively, you can drag-and-drop your photos or folders into the opened flash drive folder, so long as both windows are seen on your computer’s monitor.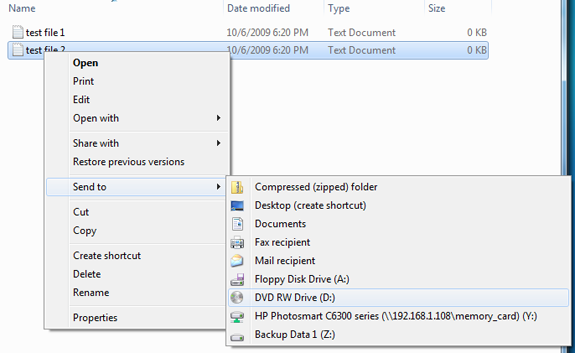
Step 6: Once your files have been moved over to the flash drive, click on the “Safely Remove Hardware” icon located in the notification area (bottom right corner of your computer’s monitor).

1 thought on “Step by Step Instructions to Transfer Pictures to A Flash Drive”